Supplies:
- Crayola Construction Paper
- Crayola Scissors
- Crayola Markers
- Crayola Washable Stamper Markers
- Crayola No-Run School Glue
- Crayola Glitter Glue
- Cardstock
CIY Staff Tips:
- Experiment with different colours or patterns of construction paper, cardstock, and glitter glue for your DIY Mother’s Day Card.
- DIY card making goes beyond Mother's Day! Take inspiration from this craft for other holidays, birthdays, or just because.
- For more DIY Mother’s Day cards, gifts, and decorations, see all of our Mother’s Day craft ideas.
Steps:
1
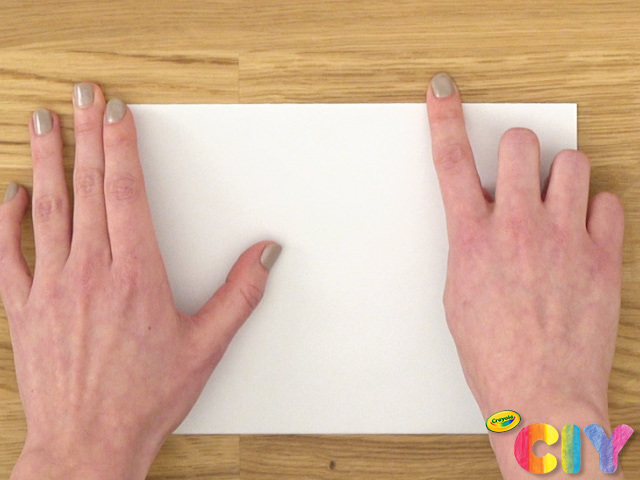
Fold construction paper sheet in half in landscape layout.
2
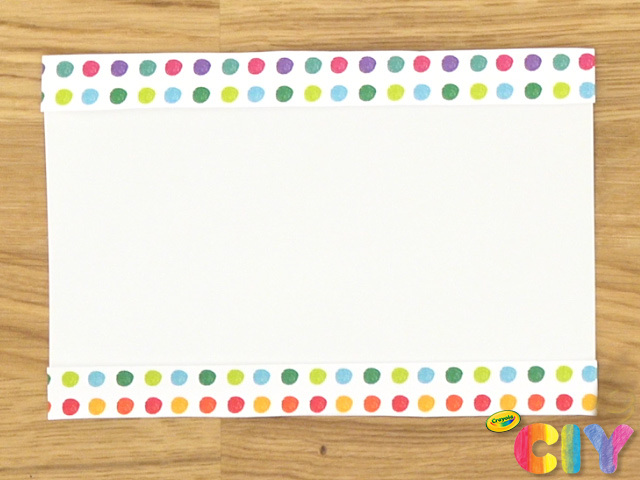
Horizontally cut 2 strips from cardstock sheet with scissors. Glue strips on outside of construction paper, one bordering the top and one bordering the bottom.
3
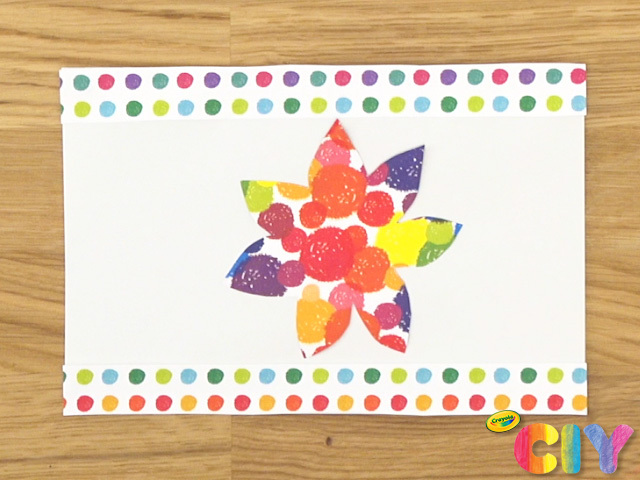
With a broad line marker, draw a flower on the back of a cardstock sheet. Cut out and glue onto center of construction paper.
4
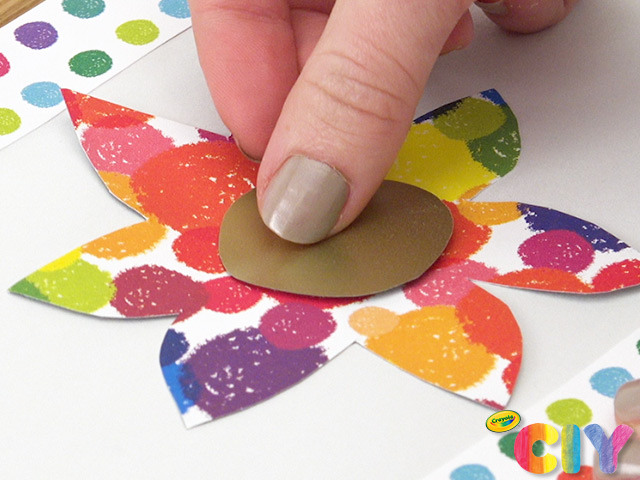
Draw, then cut out a circle on construction paper. Glue in center of flower.
5
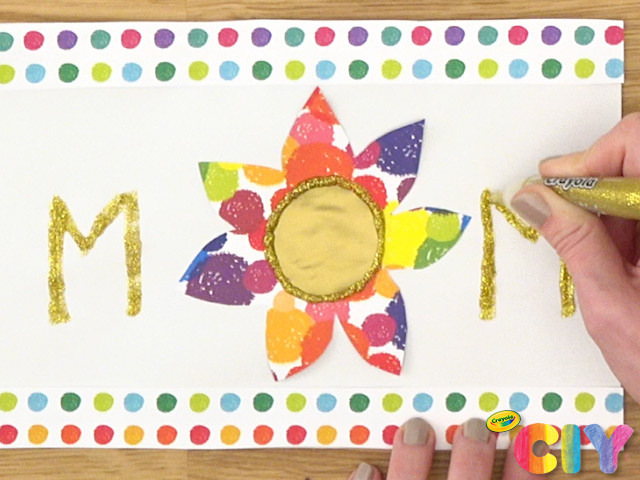
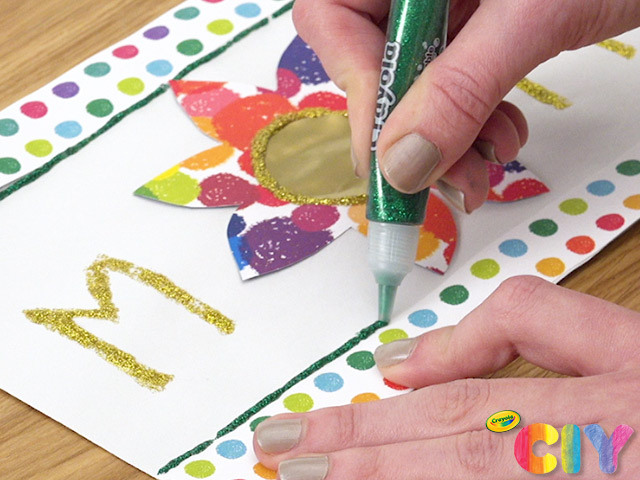
Take glitter glue tube and write out “MOM,” outlining the center circle of the flower to be the “O” letter.
6
Accent the top and bottom borders with glitter glue. Let dry 3–4 hours.
7
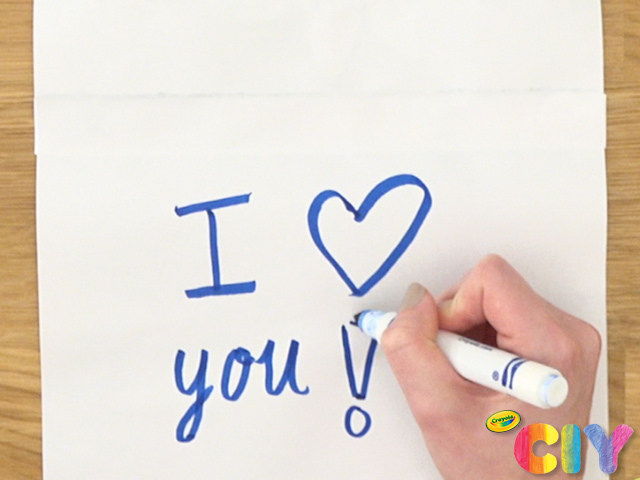
Write a message on the inside with broad line markers, then accent using stamper markers.
8
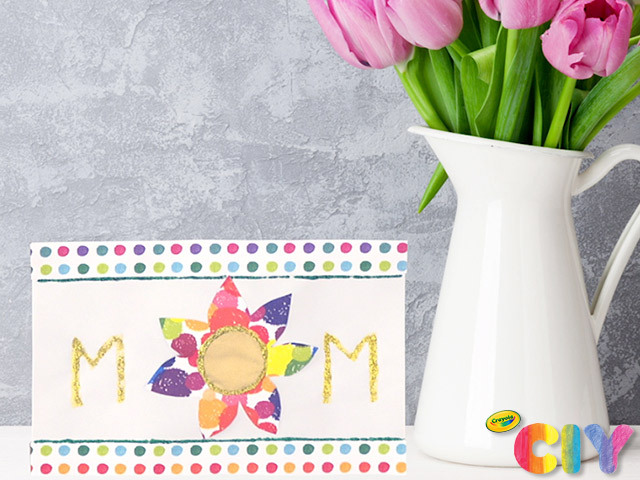
Give to mom on Mother’s Day!