Supplies:
- Crayola Construction Paper
- Crayola No. 2 Pencil
- Crayola Scissors
- Crayola No-Run Washable School Glue
- Crayola Bright Pop Cardstock
- Ruler
CIY Staff Tips:
- Need a larger headband size? Glue additional 2” wide paper strips to your headband strip to accommodate!
- Experiment with other bunny headband styles and details for a custom look.
- For more DIY Easter craft ideas and decorations, see our entire collection of Easter crafts.
Steps:
1
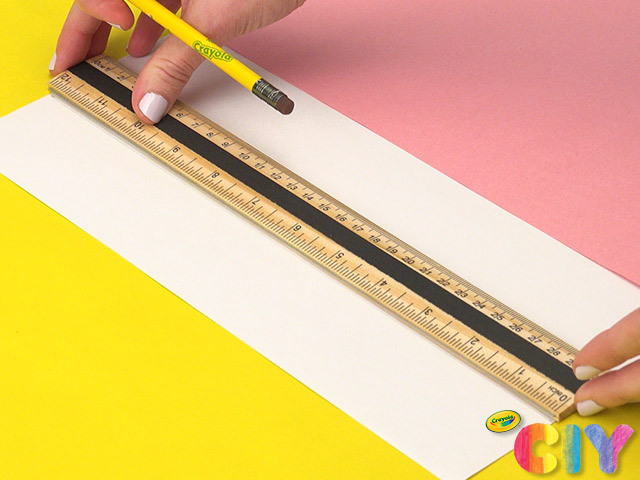
Using ruler and pencil, make tick mark on top and bottom of construction paper, 2” from left edge. Connect tick marks to create paper strip.
2
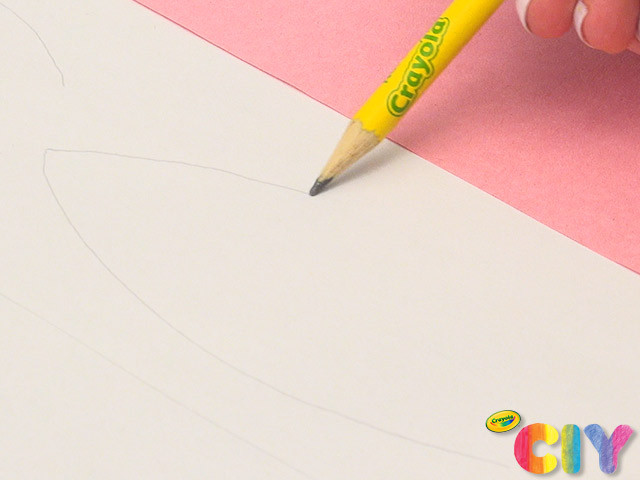
Sketch outer and inner bunny ears on construction paper.
3
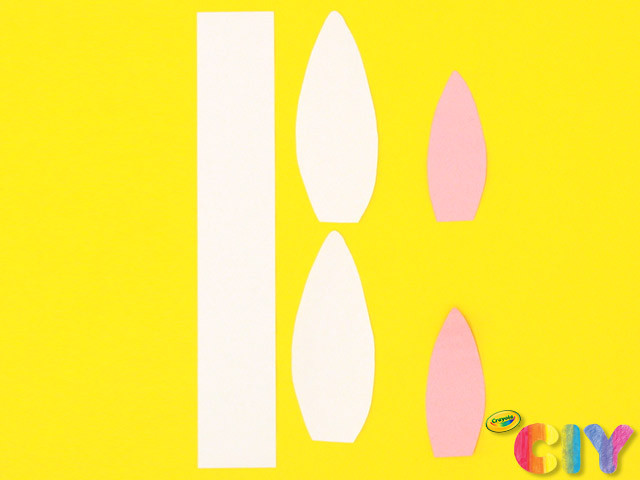
Cut out ears and paper strip.
4
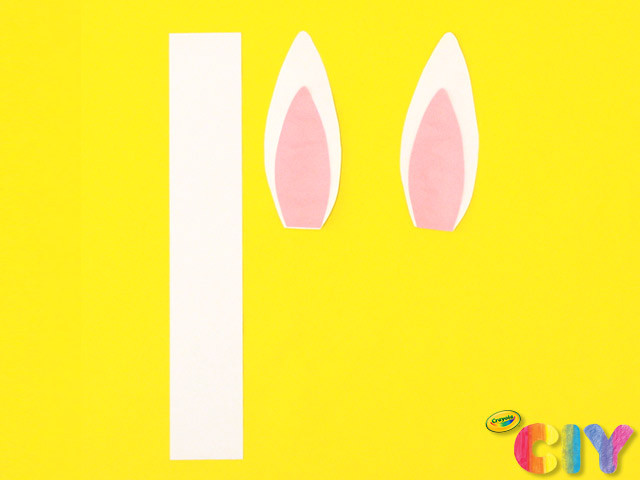
Glue inner ears to outer ears.
5
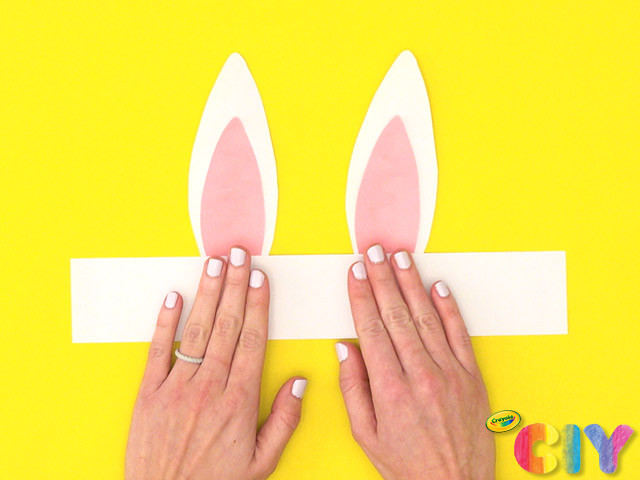
Add glue to bottom of ears and place paper strip on top to create headband.
6
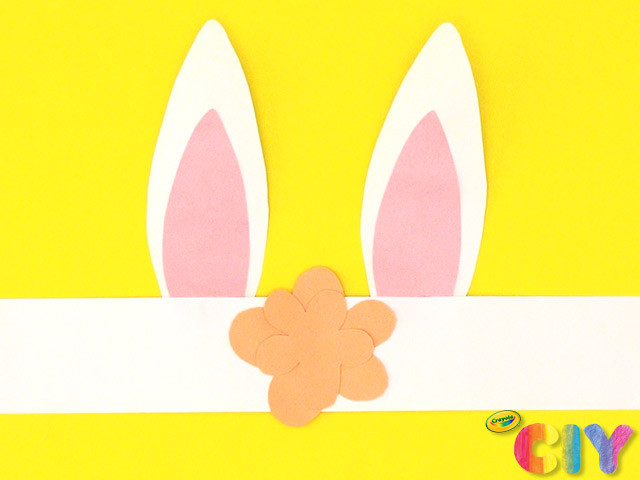
Sketch and cut out construction paper flowers. Layer and glue centre of flowers to headband.
7
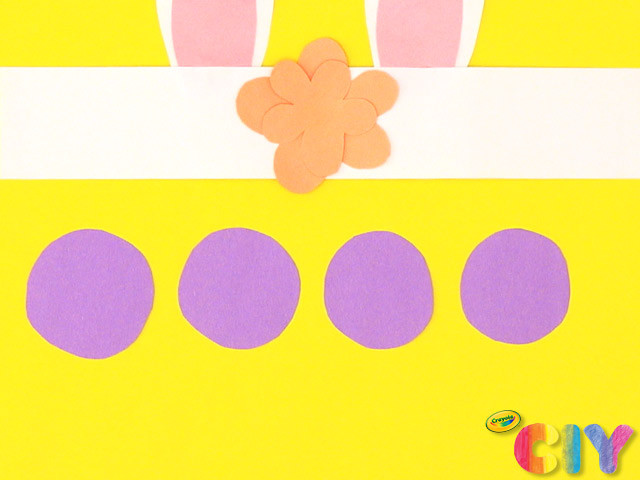
Sketch and cut out 4 construction paper circles.
8
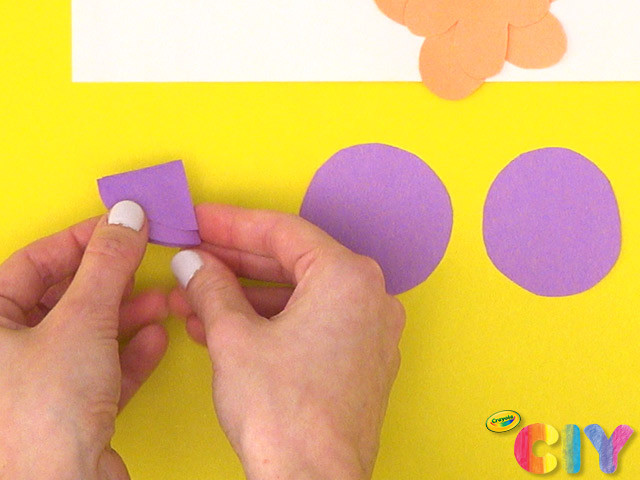
Cut slit to middle of circle. Wrap into cone shape and glue to secure. Lightly flatten cone shape to create flower.
9
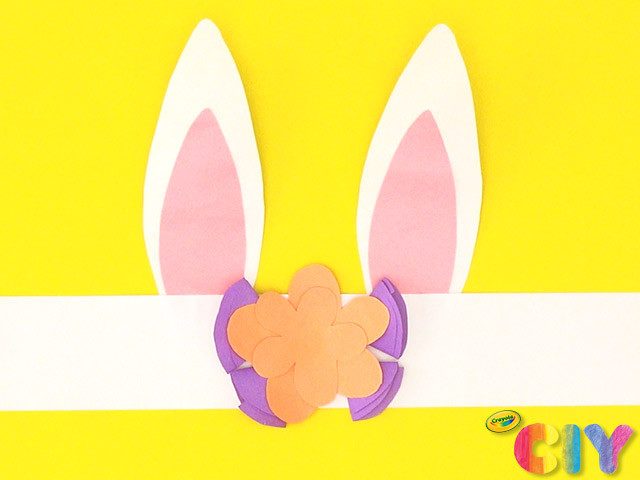
Repeat step 8 for each construction paper circle. Glue to headband.
10
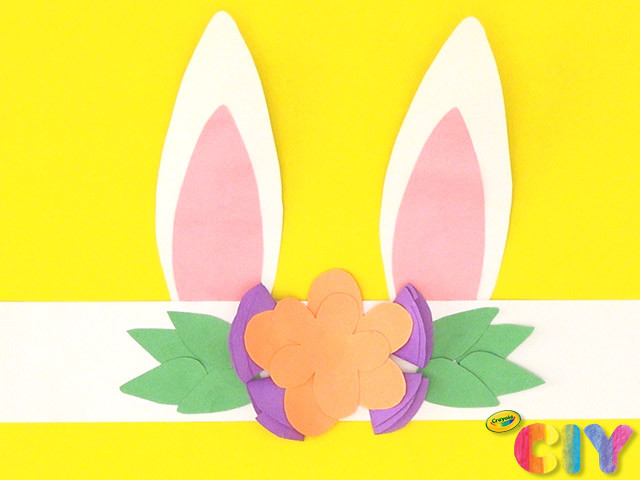
Sketch and cut out construction paper leaves. Glue to headband.
11
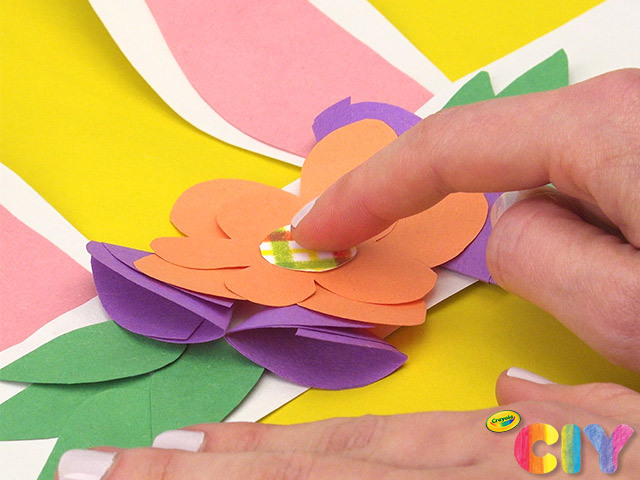
Sketch and cut out cardstock circle. Glue to centre of flower.
12
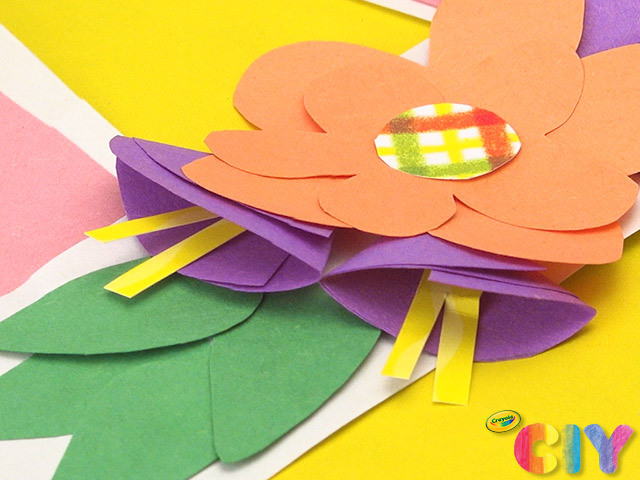
Cut out short, thin pieces of cardstock. Glue inside cone-shaped flowers. Let all glue steps dry 1–2 hours.
13
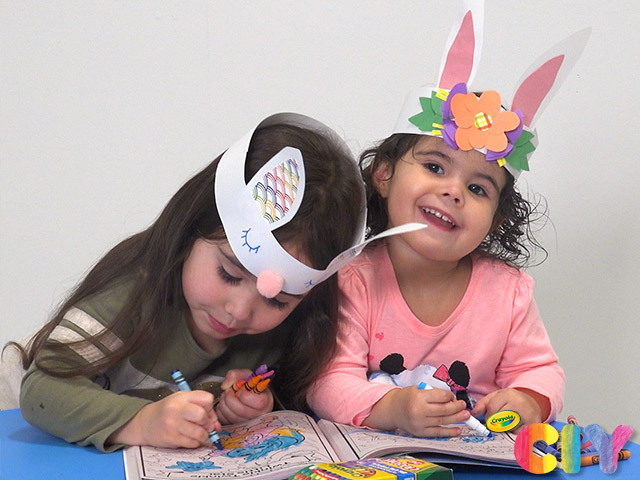
Place on somebunny’s head for a hopping Easter celebration!
Occasion:
Easter,
Spring,
Special Occasions
Age:
6+,
8+,
Tween+